Your flooring of choice for your next renovation project.
Faster
Easier
Mess Free
 |
 |
|
|---|---|---|
| Fast Installation |
|
|
| Easy To Cut |
|
|
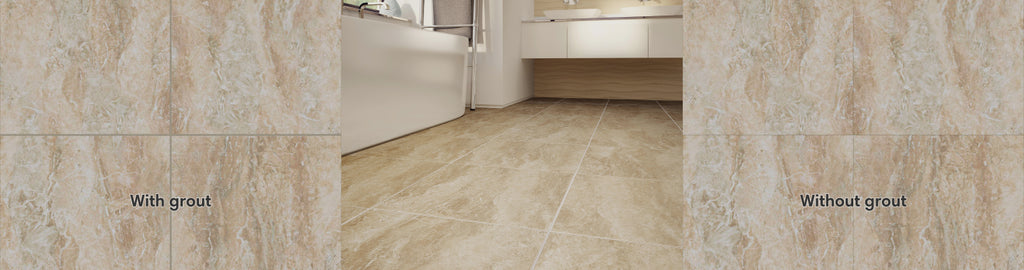
| Easy and Fast Grouting |
|
|
| Lightweight |
|
|
| Required DIY Skill Level |
|
|
We recommend contacting a retailer near you to purchase UltraCeramic and to find a professional installer. If you are an adept DIYer, installing UltraCeramic can be done by yourself, especially if you have previously installed grouted ceramic tiles.
Important - Products to purchase at the same time as the tiles:
• American Biltrite’s PS-30 pressure sensitive adhesive
• UltraCeramic premixed color matching grout
Download installation instructions:
Installation instructions (PDF)
Grout installation instructions (PDF)
Radiant Floor installation (PDF)
Note: You will need Adobe Acrobat Reader to view the documents on this site.
Click here to download Adobe Acrobat Reader for free.
Tools required for installation:
• Spacers
• U-notched trowel : 0.8 mm x 1.6 mm x 0.8 mm (1/32” x 1/16” x 1/32”)
• Utility knife or jigsaw
• Metal try square
• Sponge and buckets of water
• 75-100 lb (34-45 kg) roller*
*Can be rented at your local home center.